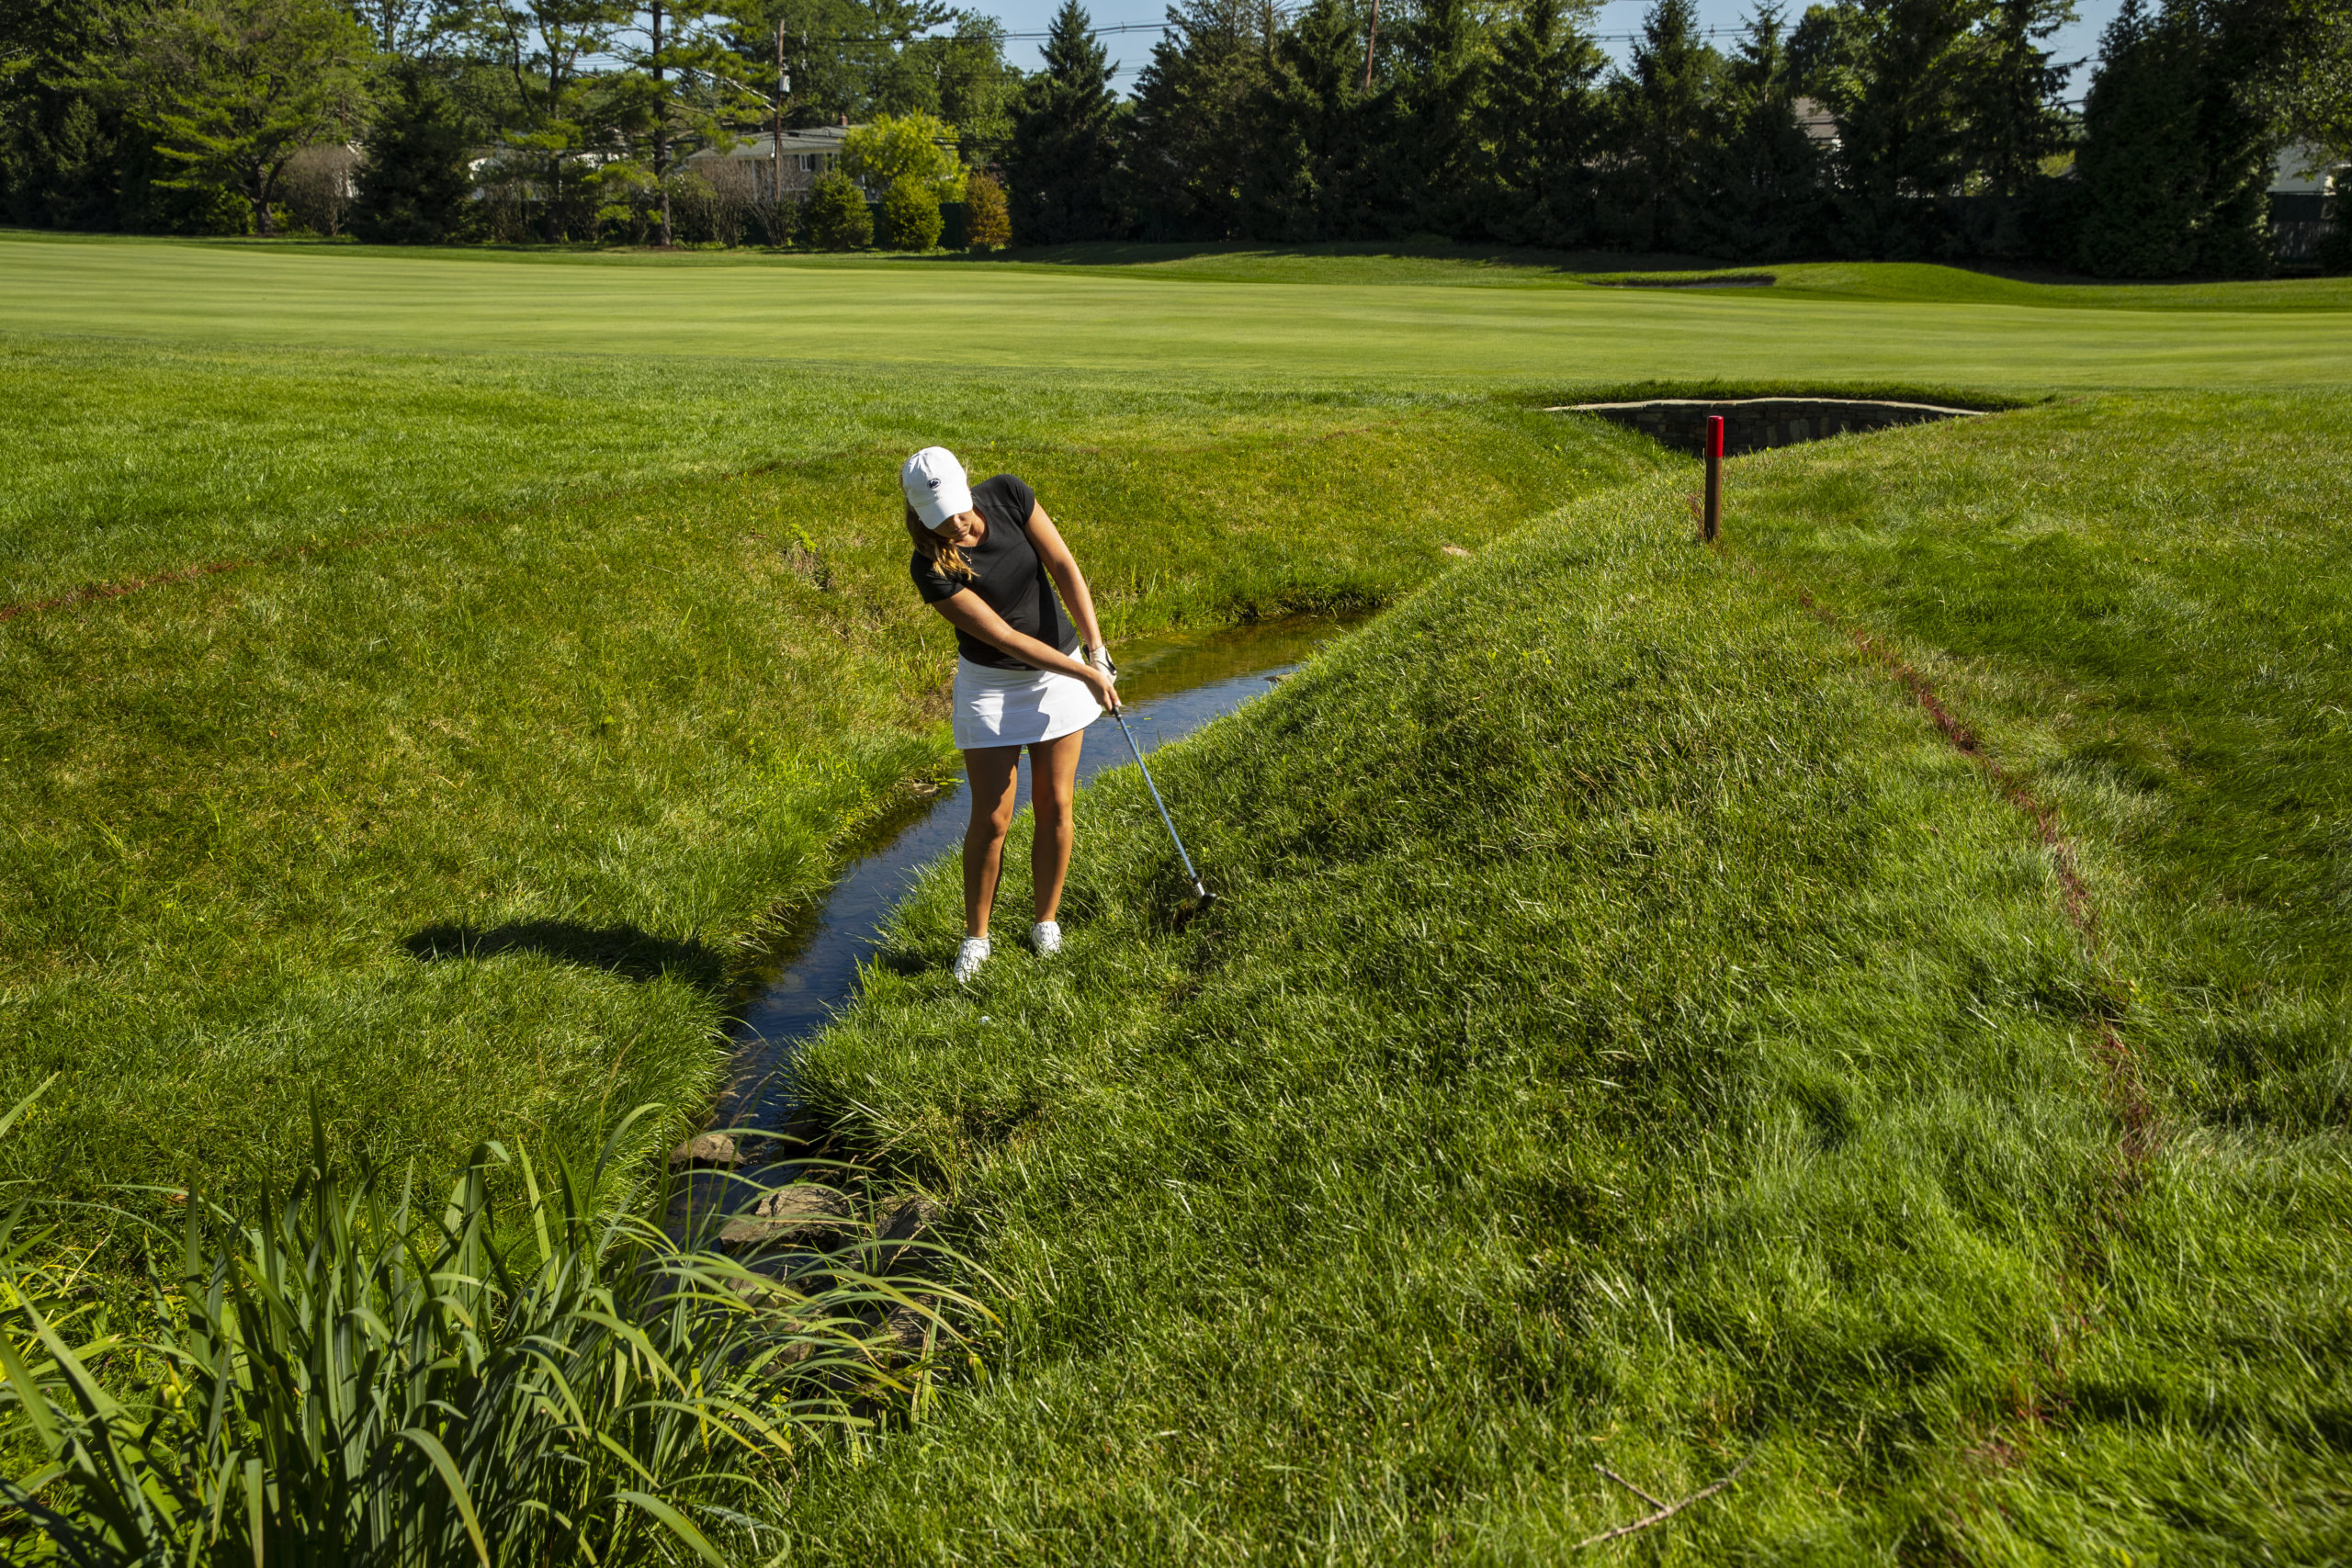
In this round of the Short Course, we are going to take a look at penalty relief options. No golfer enjoys adding penalty strokes to their score, but these optional penalty relief procedures can get you out of a tough spot. There are a number of cases where the Rules allow you to take relief from a difficult situation as an alternative to playing your ball as it lies. However, because the situation is part of the challenge of playing the course and because your stroke caused your ball to end up there, it will cost a penalty stroke (or two) to use the relief option.
Penalty Relief Procedures
For all situations where you take penalty relief, the Rules utilize the same three procedures – stroke and distance, back-on-the-line and lateral relief. Depending on where and why you are taking penalty relief, you will use difference points for determining a reference line or reference point, but the basic procedure for these three types of relief stays the same. Additionally, for all penalty relief situations, you can substitute a new ball instead of having to use the original ball.
Stroke-and-Distance
One of the few absolutes in the game of golf is that you ALWAYS have the option to proceed under stroke and distance. This means that from anywhere on the golf course, you can take one penalty stroke and go back and play from where your previous stroke was made. You can do this if your ball is in a penalty area, if your ball is unplayable, if you putted your ball into a bunker, and even if your ball is lying in the middle of the fairway!
Exactly how you do this depends on the area of the course from which you last played.
If it was your tee shot that ended up in trouble, then all you have to do is play a ball from anywhere within the teeing area. You can tee the ball up or play it from the ground, but just make sure the ball is within the teeing area.
If your last shot was from the general area, a bunker or a penalty area, then you will drop a ball in a relief area that includes anywhere within one club-length of where your last stroke was made, no nearer the hole. The ball does need to stay in the same area of the course that you last played from, so if the one club-length reaches out of a bunker or onto a putting green, those other areas are not part of the relief area.
If the last stroke was from the putting green, then you will place a ball at the previous spot. If you don’t remember the exact spot, you will estimate it and place a ball at the estimated spot.
Back-On-The-Line
Back-on-the-line relief might be the most versatile relief option as it is used in a few different Rules. With back-on-the-line relief, you create a reference line from the hole through a specific point that varies based on the Rule. Then you are allowed to drop a ball on that line any distance behind that specific point and within a one club-length relief area that is centered on that line.
It’s easiest to look at back-on-the-line relief in steps:
If you don’t select the point in advance, the Rule provides a default which is the point on the line that is the same distance from the hole as where the ball first hits the ground when dropped. In practice, this means that if you did not select the point in advance, a ball that hits the ground and rolls forward is out of the relief area.
Typically, back-on-the-line relief will allow you to drop into different areas of the course. But when using this option, there is always the stipulation that the ball must stay in the same area of the course that it first hits when dropped (meaning that if there is both bunker and general area within your relief area, your ball can’t land in the general area and end up in the bunker – this would require another drop).
Model Local Rule E-12
While generally we would not focus on a Local Rule, Model Local Rule E-12 is intended for such widespread use that it is important to review when looking at back-on-the-line relief. As we just discussed above, if you have not selected a point on the line in advance, the default point makes it such that the ball is out of the relief area if it rolls forward from where it strikes the ground. This resulted in an unintended outcome in the Rules where players might inadvertently play from a wrong place. In order to prevent this unintended consequence, Model Local Rule E-12 was introduced to eliminate the penalty for playing from a wrong place when a player played from outside the relief area as long as they played from within one club-length of where the ball first hit the ground when dropped (even if this is forward of where the ball was dropped).
Lateral Relief
Lateral relief is arguably the most widely-known relief procedure but also the most limited as far as when it can be used. Lateral relief only applies for red penalty areas and unplayable balls. Better known as the “two club-length drop,” lateral relief allows you to drop in a two club-length relief area, no nearer the hole, that is based on a specified reference point. Lateral relief is a popular option because it typically results in the player losing the least amount of distance from the hole.
Penalty Relief Situations
There are two common penalty relief situations where the Rules give you a choice of the procedures discussed above along with a penalty stroke (or strokes) “toll” for utilizing the relief option: penalty area relief and unplayable ball relief. There is also a penalty relief option a player may choose to use when taking relief from an abnormal course condition in a bunker.
Penalty Area Relief
When you hit your ball into a penalty area, you do still have the option to play your ball as it lies. That is not always a desirable place to play from, and even more frequently, it’s not even possible. So you get several relief options based on the type of penalty area your ball is in. You can use these penalty relief options both when you have found your ball in the penalty area and also when your ball is not found but it is known or virtually certain to be in the penalty area (which the Rules define as at least 95% likely to be in the penalty area).
If you have NOT found your ball and it is NOT known or virtually certain your ball is in the penalty area, then you are NOT allowed to use the back-on-the-line or lateral relief options (but stroke and distance is always allowed).
Relief Options for Yellow Penalty Areas
Relief Options for Red Penalty Areas
When using either the back-on-the-line or lateral relief options to take relief from a penalty area, the main point you need to know or estimate is where the ball last crossed the edge of the penalty area. You then use this point to create the reference line from the hole for back-on-the-line relief, or as the reference point for your relief area in taking lateral relief.
Remember that all of these options cost one penalty stroke to use. If you’re trying to figure out your score for the hole (or perhaps a fictional score on an exam…), don’t forget this “toll” for taking relief from the penalty area.
Unplayable Ball Relief
While penalty areas are a specific area of the course with designated relief options, the unplayable ball Rule gives you penalty relief options when your ball comes to rest anywhere else on the course (other than in a penalty area) and you determine that it would be best not to play the ball as it lies. You are the only person who can decide to treat your ball as unplayable and you are also the sole decider as to which penalty relief option you are going to use.
If you decide to treat your ball as unplayable, you can utilize any of the three relief procedures detailed above (stroke and distance, back-on-the-line, or lateral). The point you will use for taking either back-on-the-line or lateral relief is the spot where your unplayable ball lies. Because knowing this point is necessary for determining your relief area for these two options, you must find your ball to take back-on-the-line or lateral relief for an unplayable ball. You may take stroke-and-distance relief even without finding your ball.
If your ball is unplayable in a bunker, you have the same three options for one penalty stroke, but you also get a fourth option that costs two penalty strokes. The key to remember is that for one penalty stroke, your back-on-the-line and lateral relief must stay in the bunker. But for two penalty strokes, you can take back-on-the-line relief outside of the bunker. Lateral relief from inside to outside the bunker is not allowed.
Interference from an Abnormal Course Condition in a Bunker
There is a penalty relief option that allows you to use back-on-the-line relief to get out of a bunker for only one penalty stroke, but there is an important qualifier – you must have interference from an abnormal course condition (animal holes, ground under repair, immovable obstructions or temporary water). This penalty relief option is available in addition to the free relief option which requires that you remain inside the bunker. Like the two penalty stroke unplayable ball relief option discussed above, you drop back-on-the-line behind the bunker using the line from the hole through where the ball lies in the bunker and going back as far as you want.
Regression
When you get into a difficult spot, sometimes you compound the situation by playing your ball into an even more difficult lie. When this occurs in a penalty area, there is a specific relief rule that lets you get back to the last place you played from outside the penalty area.
There are several different scenarios possible with penalty area regression:
Ball Stayed Within the Same Penalty Area
When you play a ball from within a penalty area and it comes to rest in the same penalty area without ever crossing the edge of the penalty area, the relief options are simple:
These three options all cost one penalty stroke to use.
Ball Played Into the Same or Different Penalty Area with New Crossing Points
When you play a ball from within a penalty area and it exits the penalty area and comes to rest again in the same penalty area or a different one, the relief options are essentially the same as described above, but you will have a different reference point based on how you proceed.
You have the same options as above:
These options all cost one penalty stroke.
Ball Hit Out of Bounds or into Unplayable Position
If you play from a penalty area and your ball goes out of bounds or into a position that is unplayable and you opt to use stroke and distance, you have all the same options you had as when your ball first lay in the penalty area. However, it will now cost two penalty strokes for each relief option other than regular stroke and distance back in the penalty area (which only costs one penalty stroke).
Regression for an Unplayable Ball
There is no Rule that works the same way as penalty area regression when you hit your ball from a difficult situation into an even more difficult situation outside of a penalty area. Stroke-and-distance relief only relates to the spot of the previous stroke. So if you are in the general area in some bushes and attempt to play your ball but do not succeed in getting out of the bushes, stroke-and-distance relief is only available at the spot of your previous stroke (still in the bushes). Your only option at that point may be to take multiple lateral unplayable ball drops to get to the nearest playable position.
If you are interested in reading the text of the relevant Rules, it can be found mostly in Rule 17 (Penalty Areas) and Rule 19 (Unplayable Ball). And as always, if you have any questions, you can reach us directly at [email protected] or 908-326-1850.
Name | Score |
---|---|
Scores loading | |